Napari
Napari is an extensible framework for viewing, processing and manipulating images and we have developed a plugin to use AFMslicer in Napari, napari-afmslicer.
Installation
We publish napari-afmslicer to PyPI and in turn it appears in the Napari Hub. You can then install it from the Plugins > Install/Uninstall Plugins menu item of Napari.
Dependencies
We include a small selection of plugins as dependencies and these will have been installed automatically when following the installation instructions.
- napari-afmreader - used to load a range of Atomic Force Microscopy images.
- napari-crop - used for cropping images (typically prior to filtering and slicing).
- napari-skimage - Napari interface to Scikit Image functions.
- napari-topostats - required as some of the functionality is reused.
The napari-crop and napari-skimage plugins in particular may be of use to further pre-process images prior to slicing.
Usage
Launching
You can launch Napari from the command line within your Virtual Environment.
You can automatically load the Napari AFMSlicer widgets using...
This will bring up the widgets on the right-hand side. At the bottom are three tabs allowing you to switch between the Filtering, Slicing and 3D Viewer components.
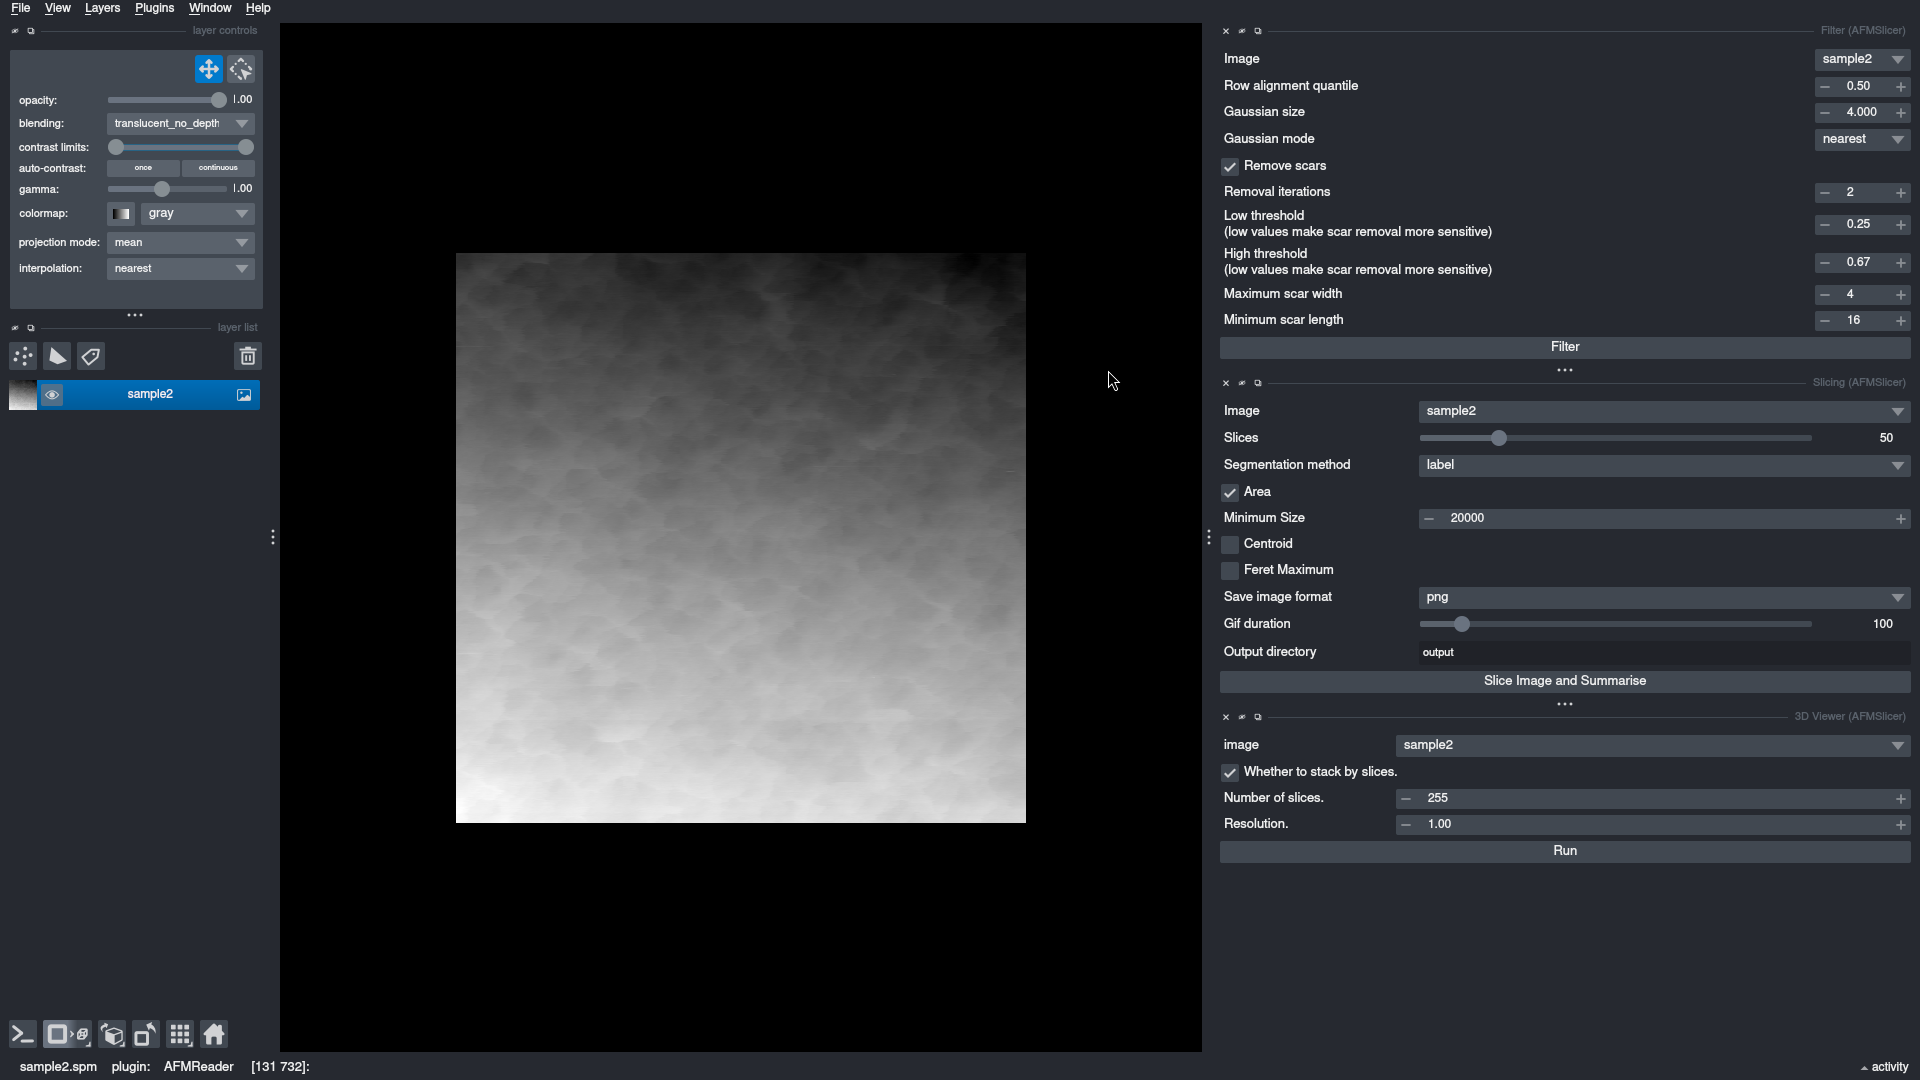
Alternatively the widgets can be launched from the menu under Plugins > AFMSlicer > from which you can enable each components of the plugin. Currently there are three components, each of which can be enabled independently.
- 3D Viewer
- Filter
- Slicing
The difference is that the options for each of the components are stacked on the right rather than being tabbed.
A typical workflow will involve...
- Filtering an image and removing scars
- Running slicing.
Hovering over any of the text associated with the options will show a short explanation of what it does.
Filtering
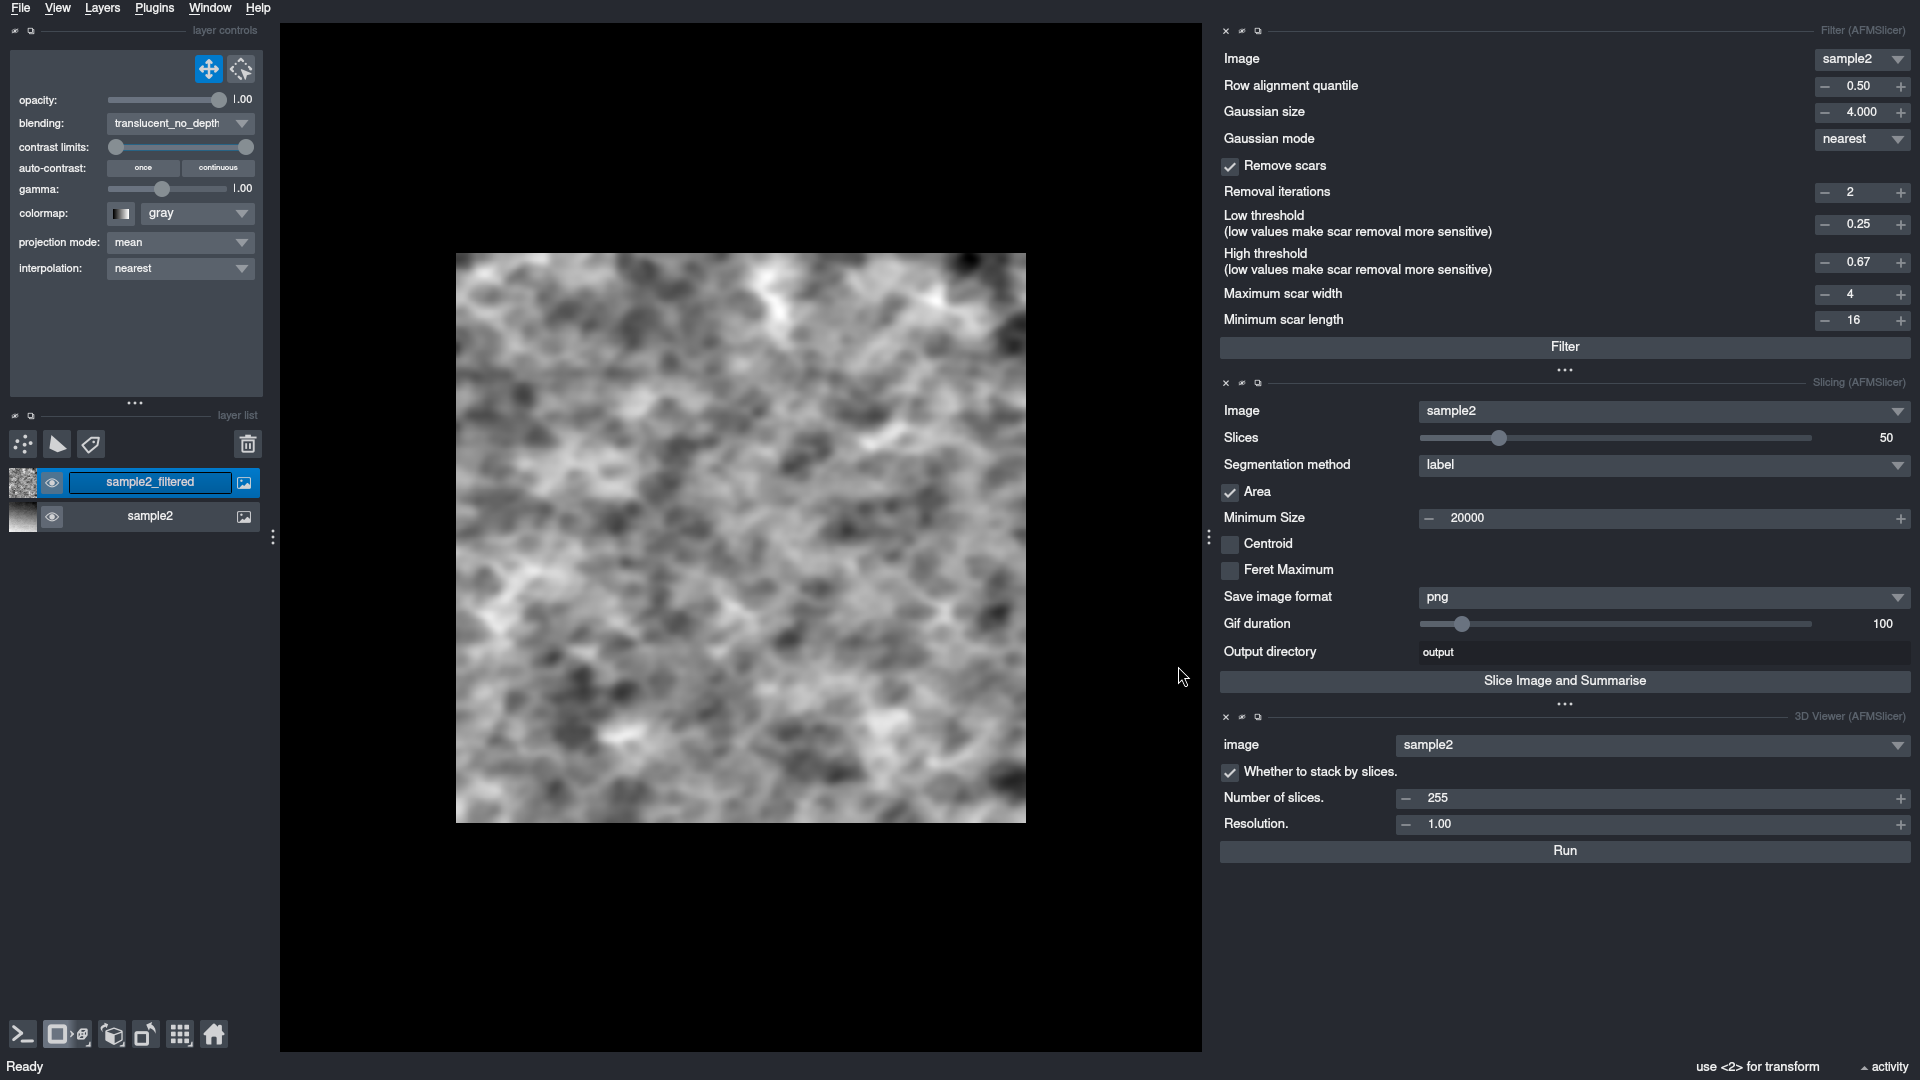
The parameters for filtering can be configured easily. Unchecking Remove scars will prevent scar removal from running
completely. Once you have adjusted the parameters to your preference click on the Filter button and the image will be
filtered and a new layer will appear listed on the left and automatically selected showing the effects of filtering. It
will have the original images name suffixed with _filtered
Slicing
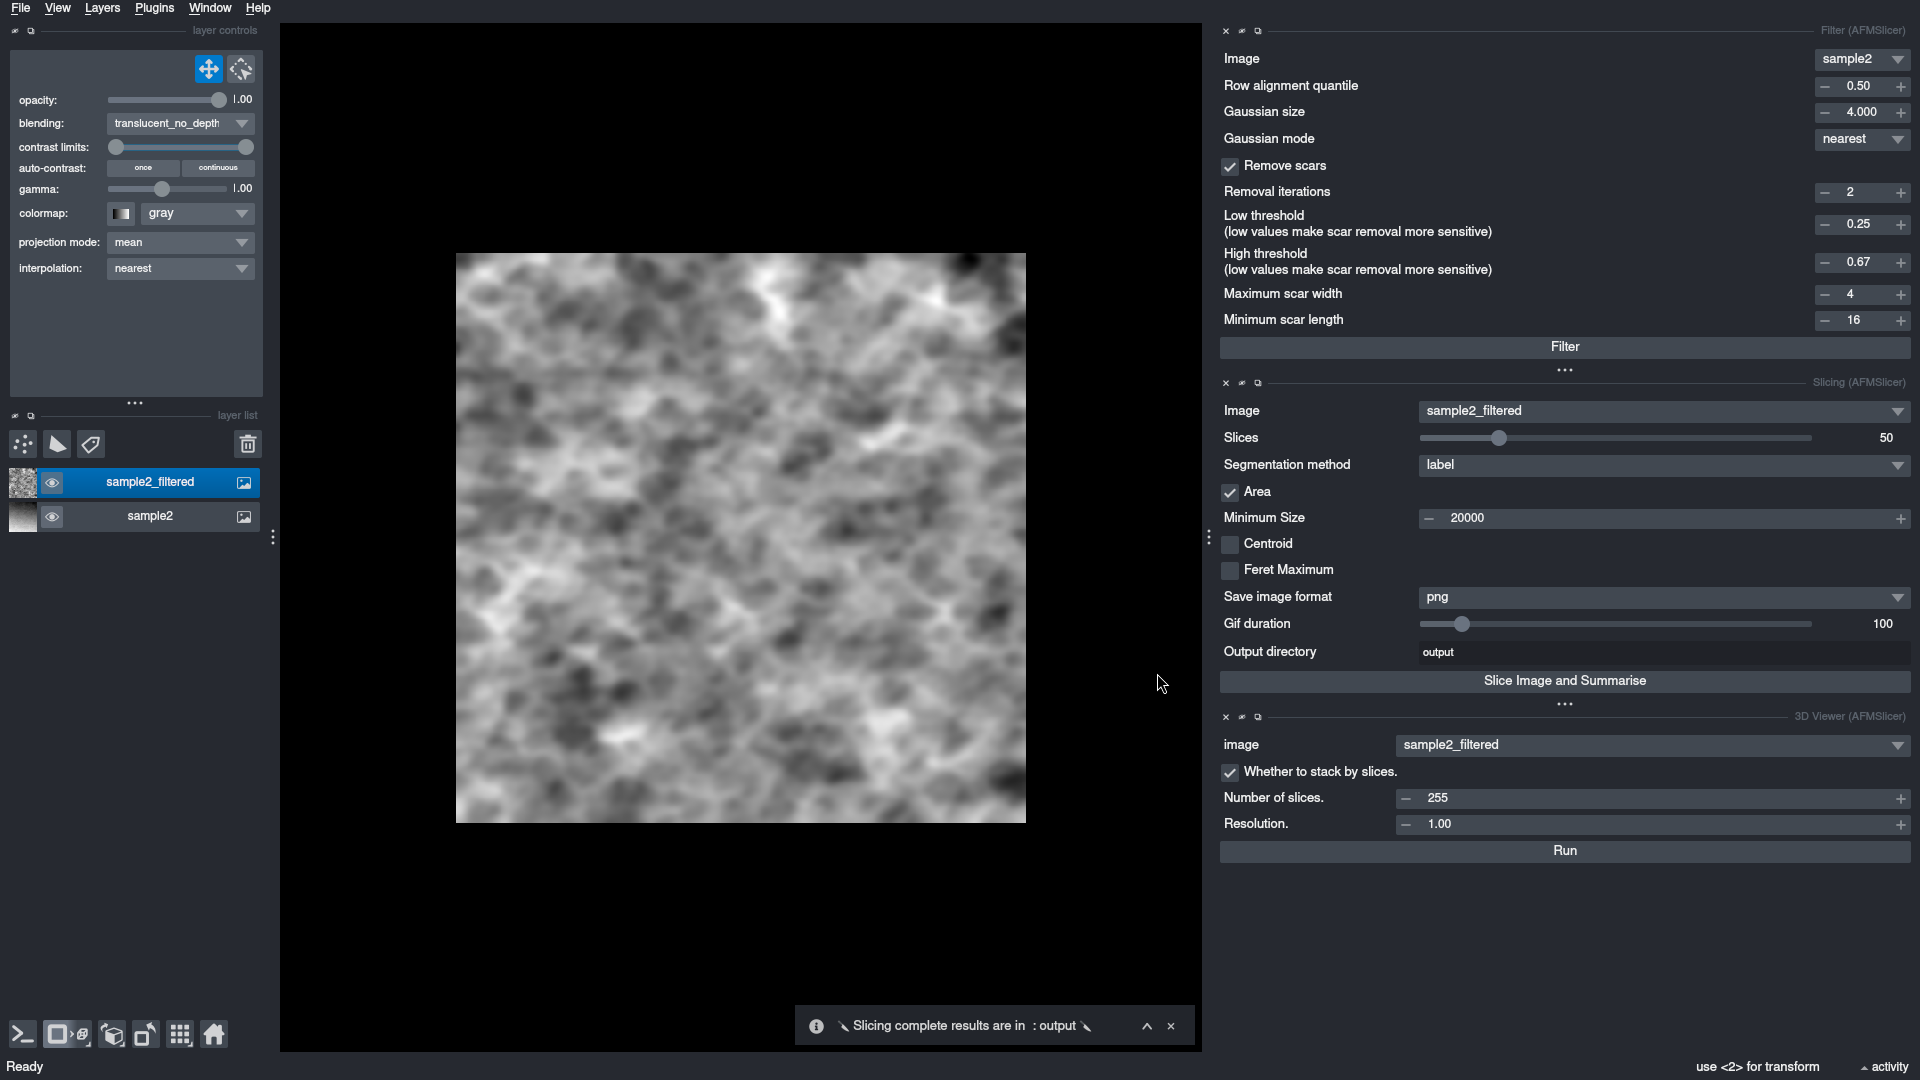
Under the Slicing widget select the filtered image from the pull-down list to the right of Image (typically it will
be the layer with the _filtered suffix). Next select the number of Slices to create, the Segmentation method
(label is the most common) and other options, in particular the Output directory should be explicitly set. When
ready click the Slice Image and Summarise, the image will be sliced and summarised with the output saved to the
parameter in the Output directory field.
3D Viewer
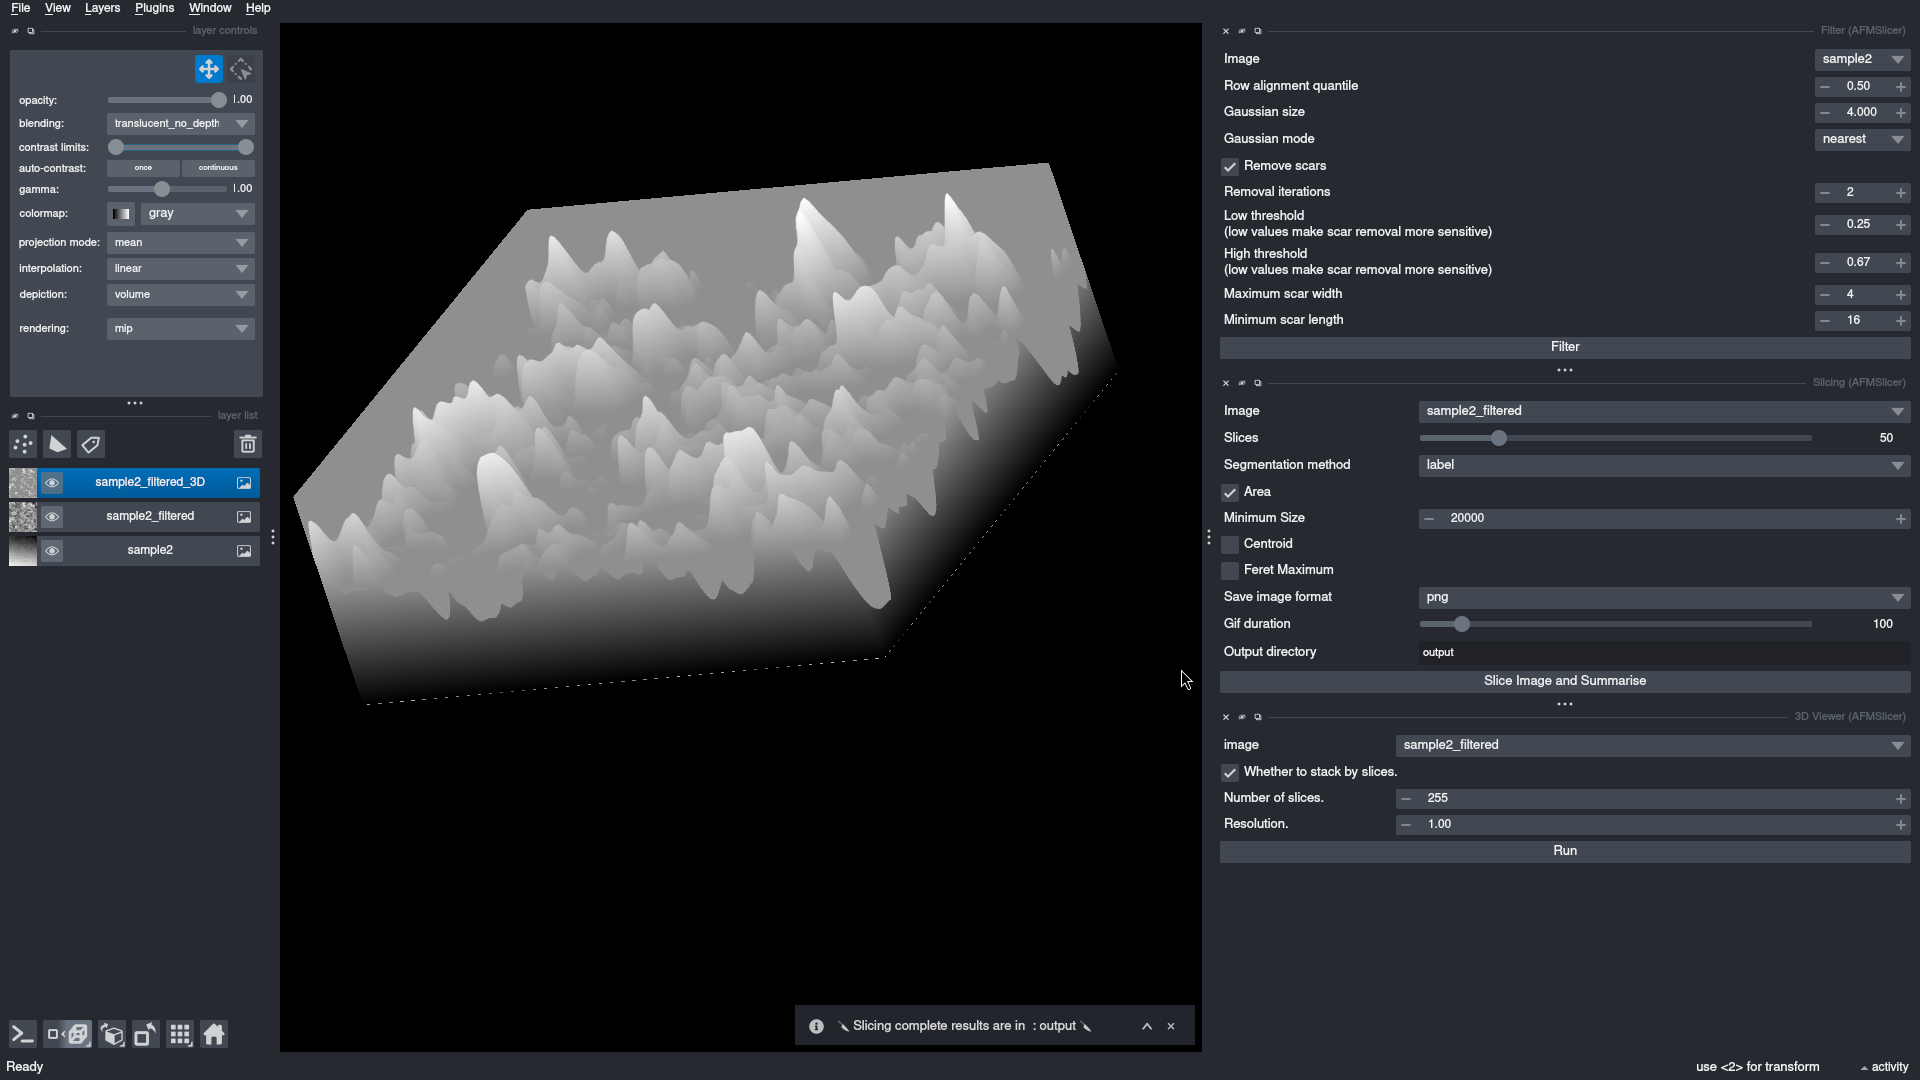
The 3D viewer can be used to view the images in three dimensions. Select the _filtered layer for the Image to be
viewed and a number of slices to create this image with (it can be different to those the slicing was performed with).